
For the most part I followed Zeke Samson's track plan but I deviated from it when I saw opportunities to improve the plan by adding additional loops or sidings.
The original plan called for a single track on the upper level. Because of the width of the upper level board I was able to install two connected "dog bone" loops.
The left upper level installed. Note the ramp from the main to the upper level has been installed and track has already been installed. This was done to test the percent grade and it was about 5 - 6 %, low enough for loks to climb the grade.
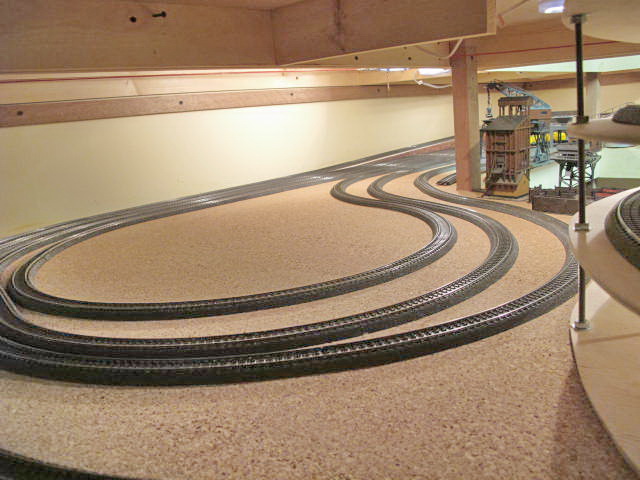
The right upper level loop. Note the tracks below are a dog-bone allowing for reversing on the main level.
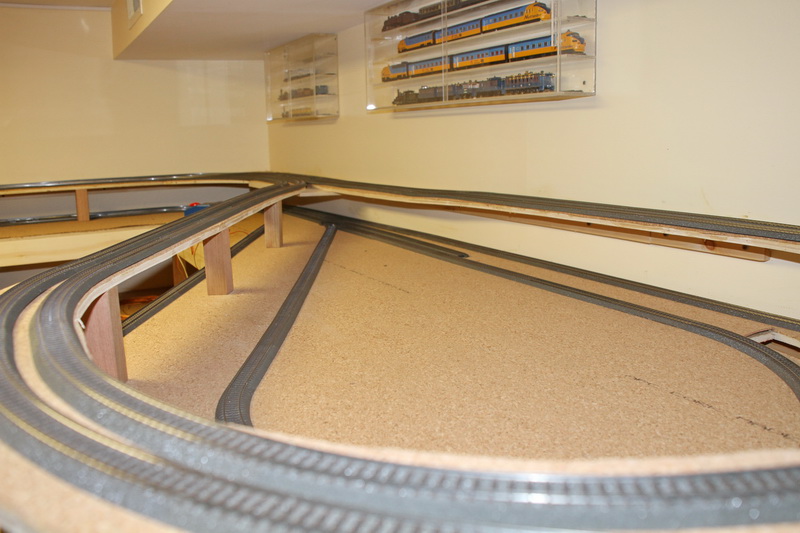
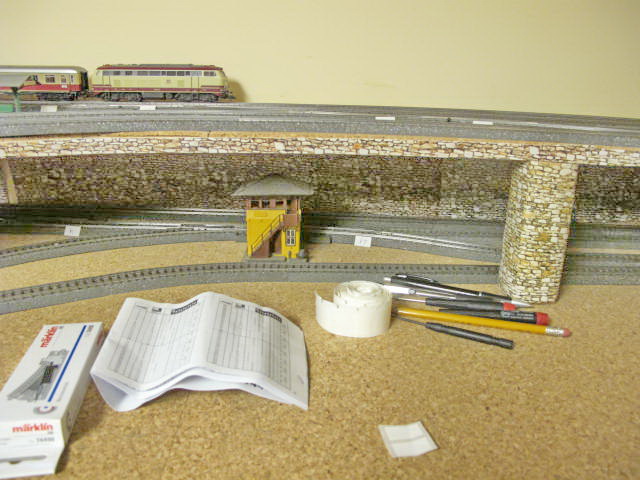
High speed turnouts allow crossing-over on the left upper level.
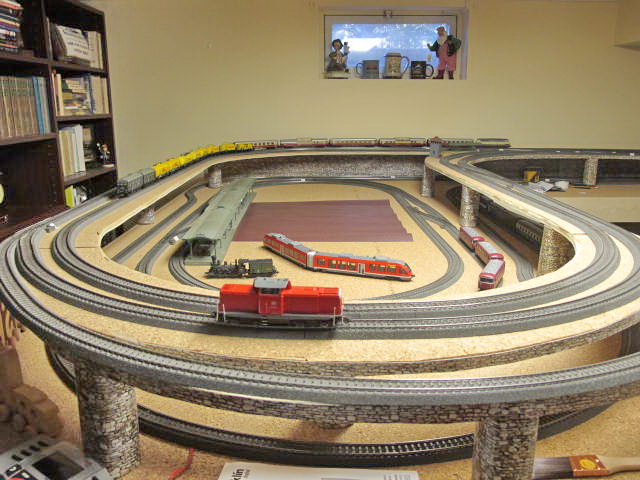
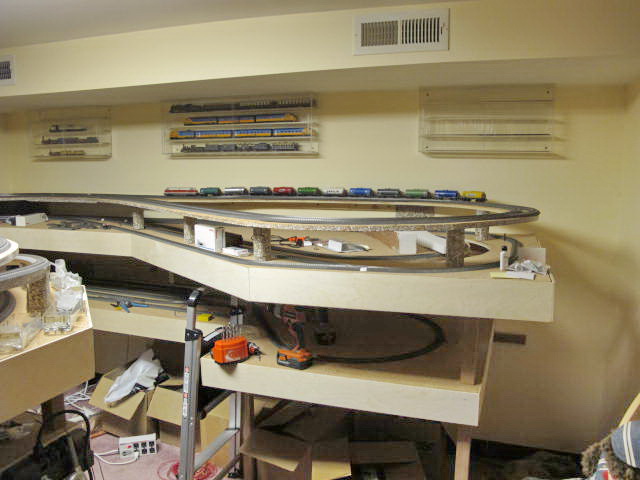
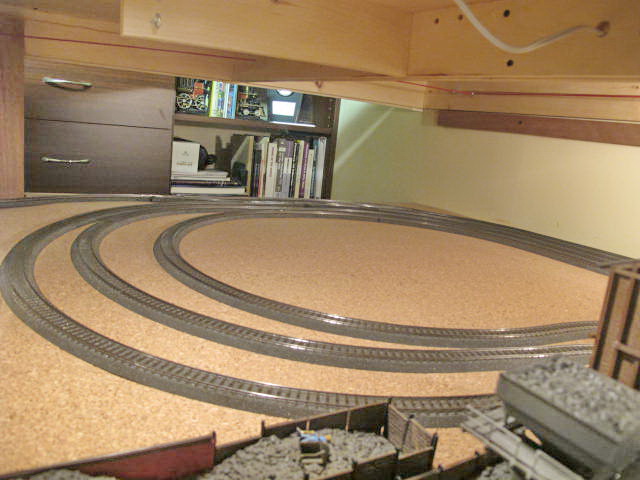
A view of the left upper level and the left main level. The upper level has two continuous tracks allowing for two loks/consists to operate independently. The left main level has two oval routes that are connected to the single main track that makes a continuous loop on the right and left main level.
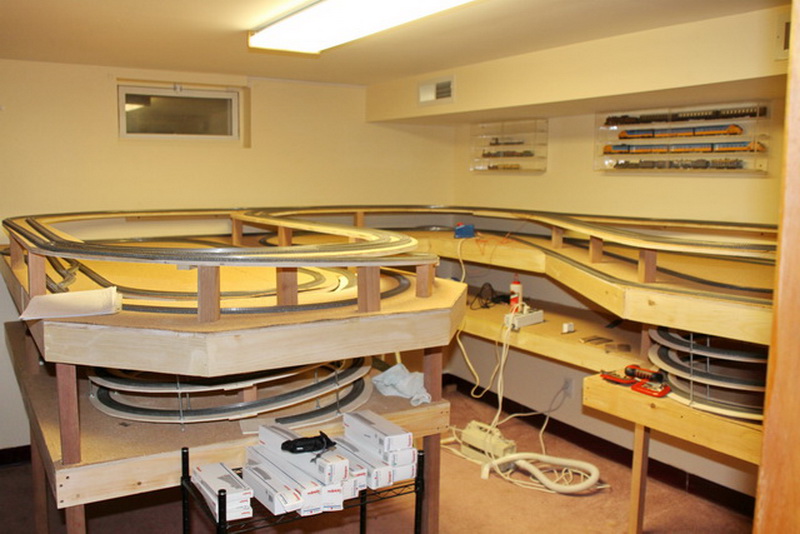
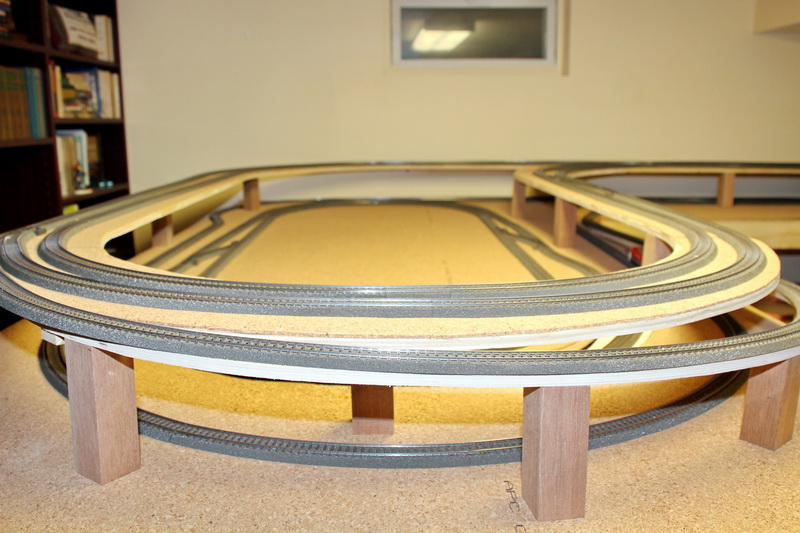
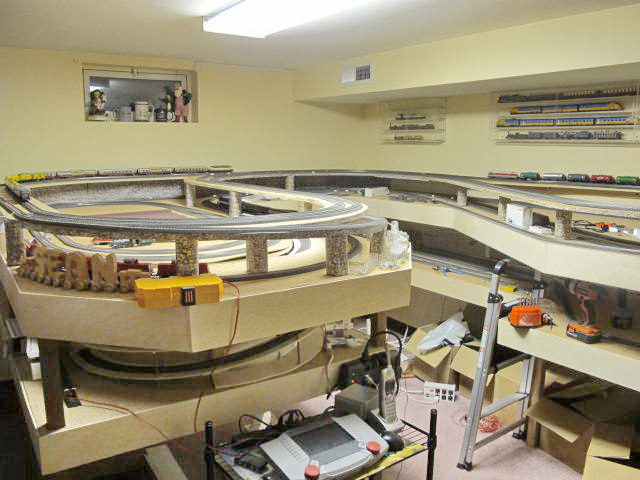
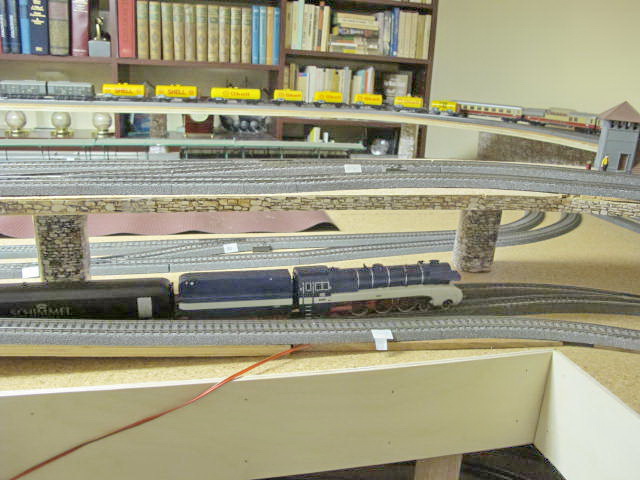
A view of all three levels. The right helix is still in place. It has since been removed.

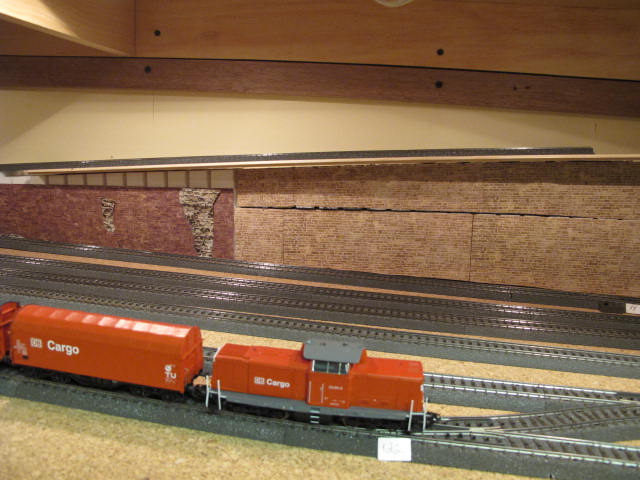
I used the tandem Cargo loks with Cargo cars to test the layout. With some track cleaning everything worked fine. I will be controlling the layout with a single Central Station, two Mobil Station II, and one booster using, in both cases, 60 watt Marklin transformers.
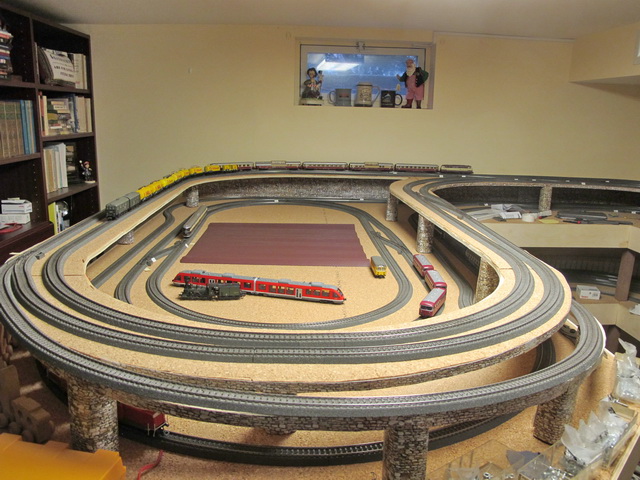
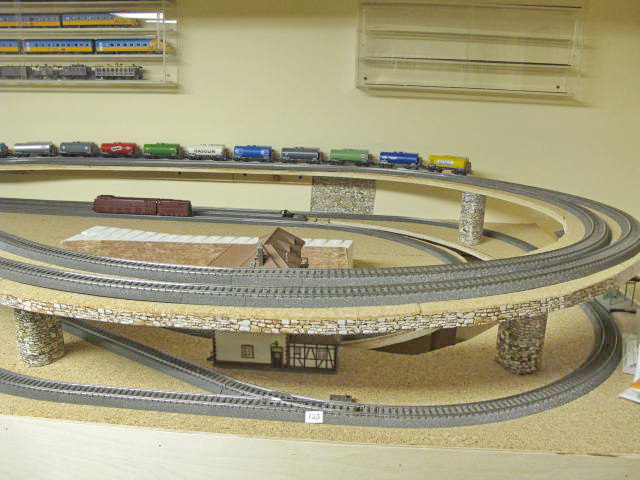
The City loops. I used several types of engines to test the layout.
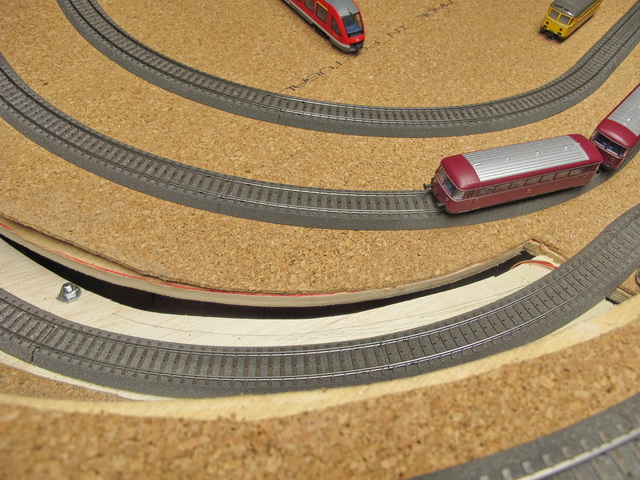
Right upper loop. Scenic Woodlands foam ramp materials that were used for part of the rampfrom the main level to the lower level. Note the cutout for the ramp entrance/exit. I intended to use the ramp to go up and the helix to go down but found that I could go both ways on the ramp and helix with no problems.
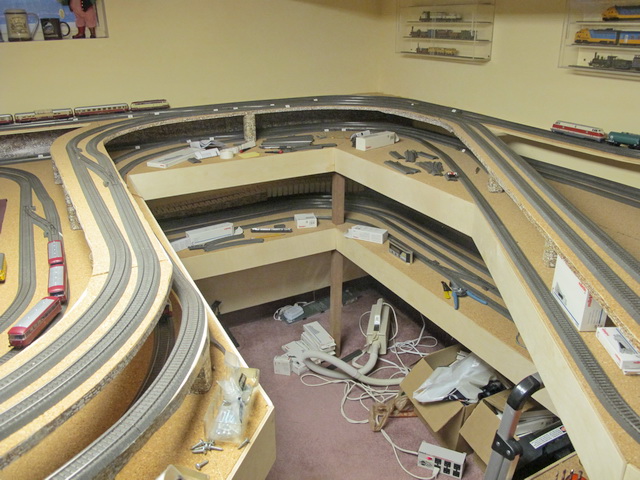
It looks messy but much progress has been made. This gives a good view of all three levels at the corner. At this point the tracks on the upper level are complete and I am running two test consists. Both worked perfectly.
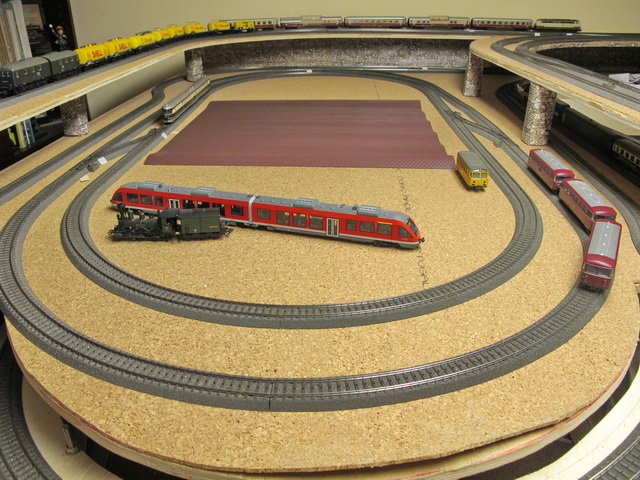
The tracks for the City loops tested perfectly.

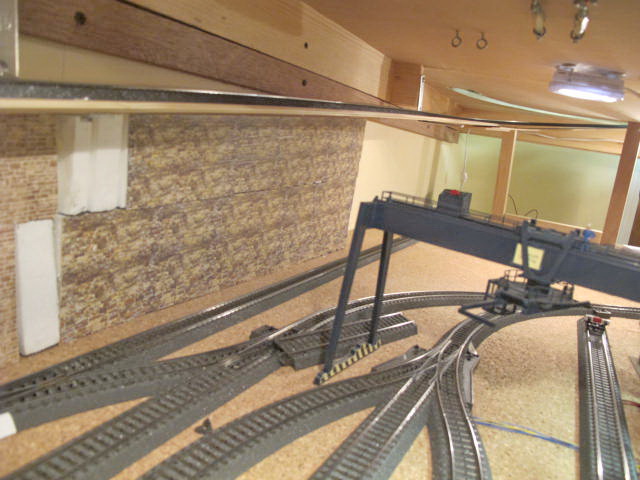
The helix, which has to be connected to the main level.
The connection from the helix to the main level is complete and tested perfectly.
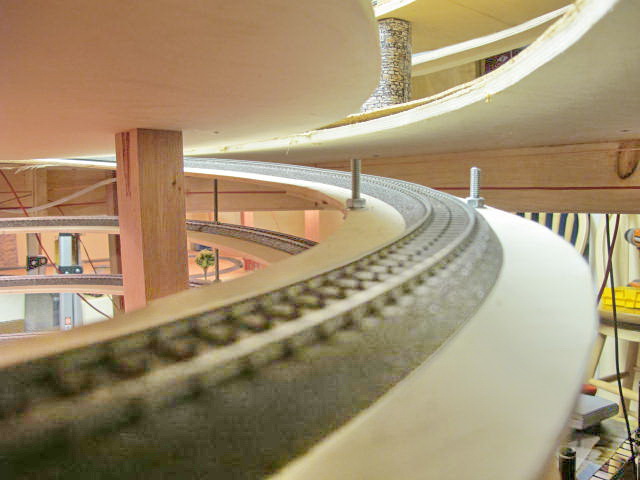
Two views of the helix connection rising to the main level.
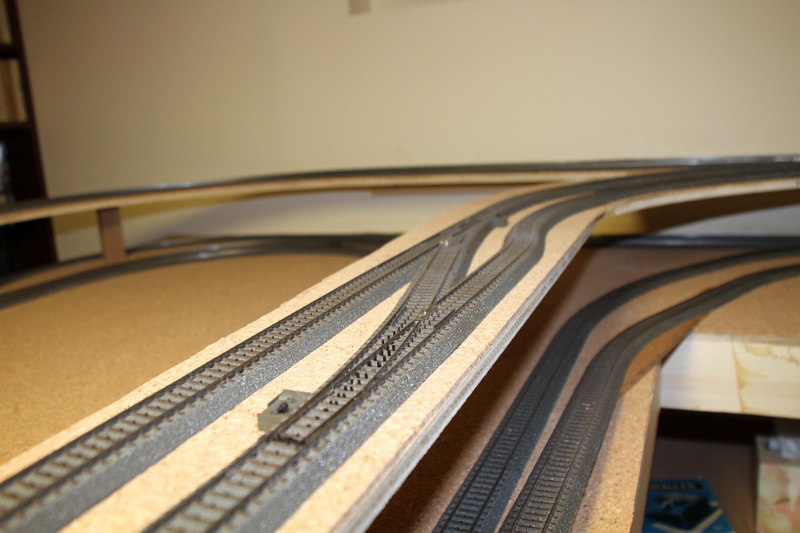
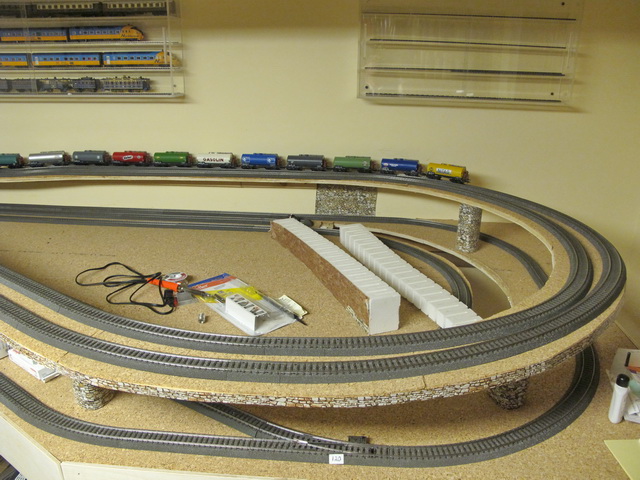
At this point both the upper and the main level tracks have been installed. This is a view of the left side of the layout. The tracks eventually all fit with a series of swapping of track lengths. What I feared most never materialized - that I could not get the tracks to fit or connect but the three sizes of small C track worked as did the various long track lengths. For the curves I used several types of R2 curves. The really small curve track worked wonders in several spots. I suggest keeping a supply of them on hand if you are working with curved tracks. It still looks busy and messy but it came together nicely. At this point I have spent the equivalent of less than two weeks to reach this point. This was better than I had expected.
This is the right side of the layout. There is still no connection to the main level and the ramp from the lower level is yet to be constructed.
The corner.
The left side of the layout. The ramp from the upper level to the main level is in the foreground. I faced the supports and the edge of the upper level with "stone paper" which really made the edging and the supports look great.
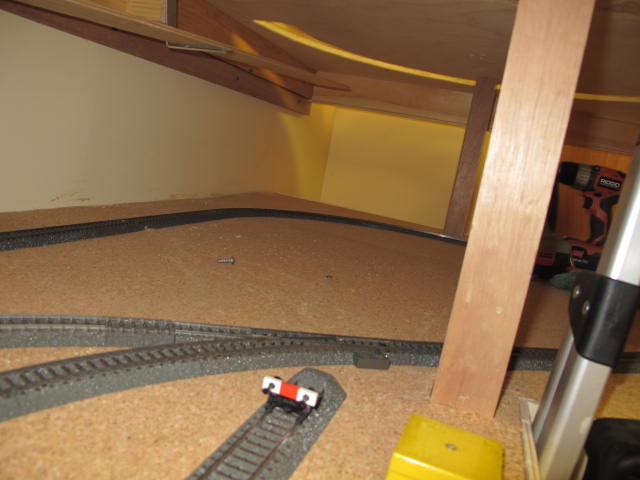
In this photo the connecting ramp to the main level has yet to be installed.
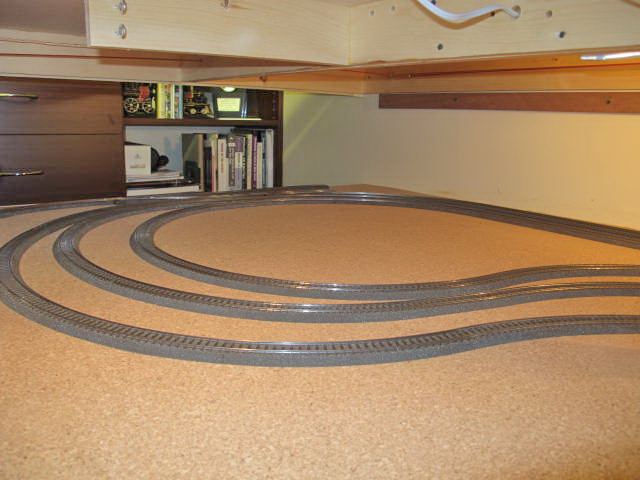
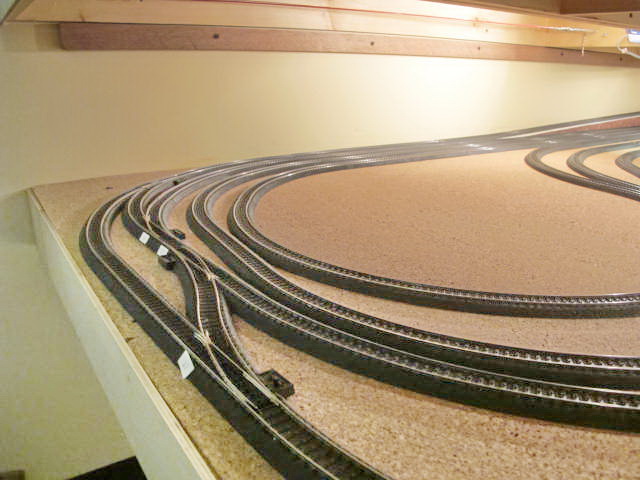
This is the lower level on the left side. Note the dog bones that allow me to run consists in several loops on the lower level as well as use them as yard tracks. No reversing is necessary with this arrangement. The ramp from the lower level to the main level has not been built yet. The last set of photos shows the constructed ramp which rises 15 inches from the lower to the main level.
These photos show the ramp from the main level to the lower level. It is made of several Woodlands stryofoam preformed 4 degree ramps. The first four feet have a 1/4 in piece of plywood supported by "L" shaped iron supports.
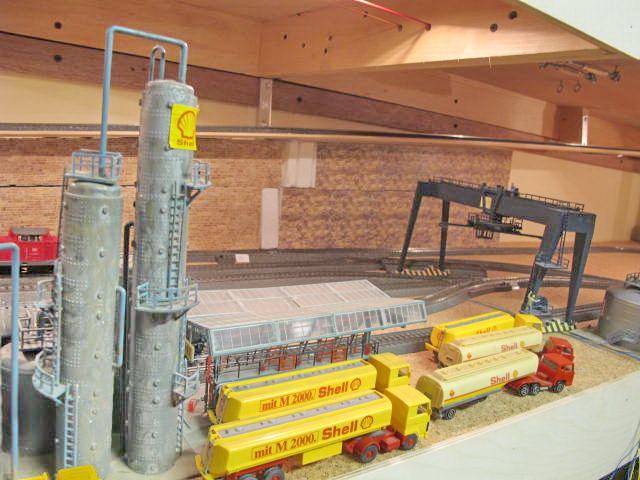
Another view of the ramp with the shell refinery installed.

Additional views of the ramp against the right wall.

The ramp curves along the far wall and continues to descend.
The end of the ramp from the main level to the lower level. It descends/rises 15 inches. This photo shows the four turnouts that allow me to move a train from the ramp or helix to the storage tracks on the lower level.